
Managing Clients and Properties in HomeWatcher
Your client and property records are the foundation of your home watch business. Every schedule, visit, report, and invoice you create connects back to a property and the homeowner who owns it. When those records are accurate and complete, your techs walk straight through the gate instead of standing outside with no code. This guide walks you through adding clients, adding their properties, and keeping both up to date.
A client is the homeowner or household account: their name, contact person, emails, phone number, and any notes. A property is a home that belongs to that client, with its own address, type, size, optional service area, and access notes. One client can have many properties, so a snowbird with a beach house and a mountain cabin lives as a single client with two homes.
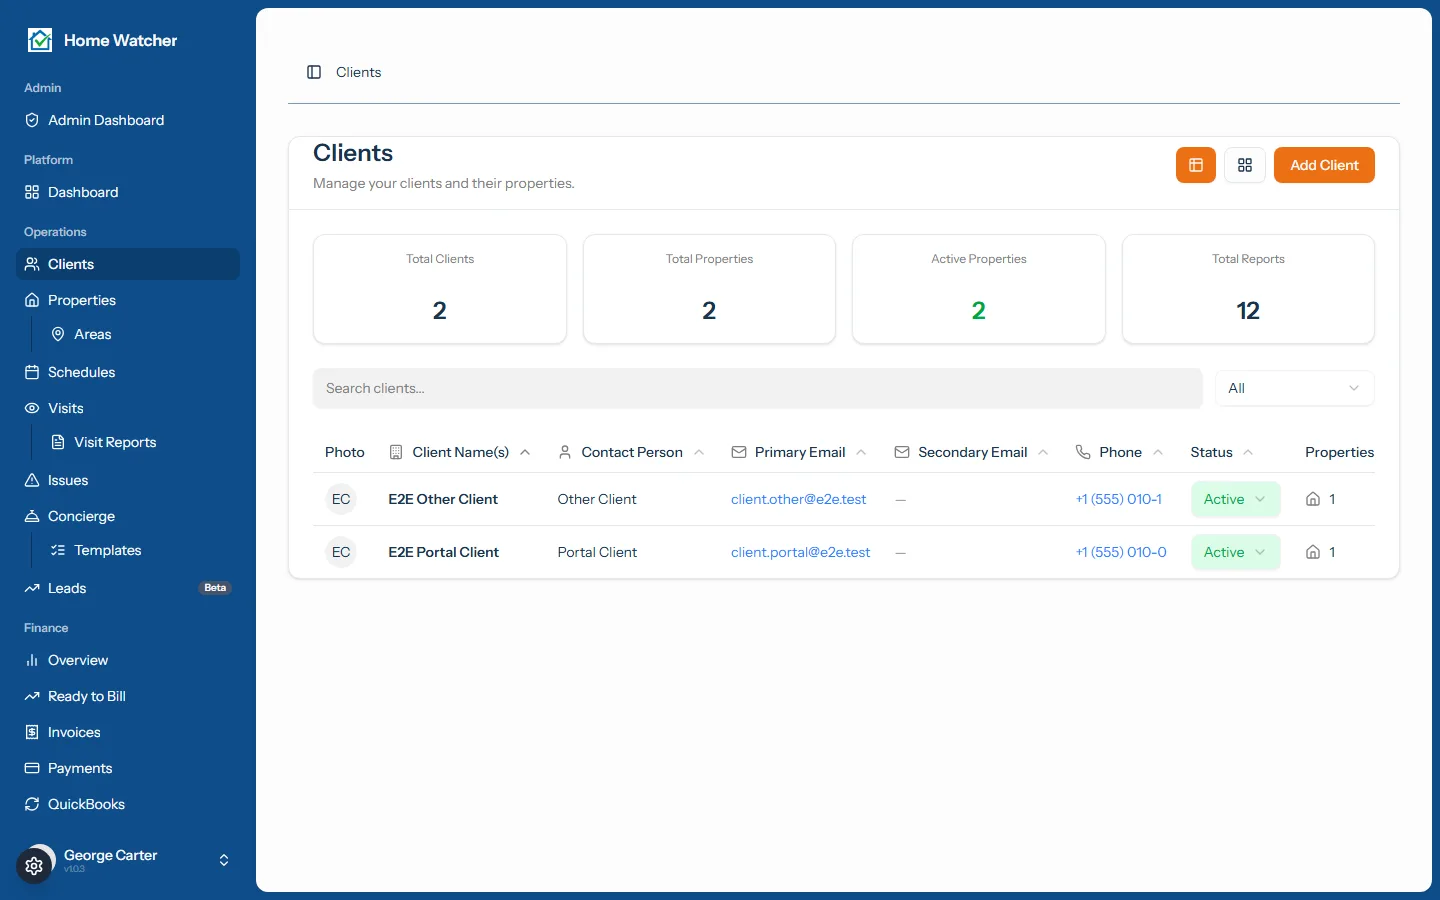
How to add a client
- Open the Clients section and choose Add New Client.
- (Optional) Upload a photo for the client or household so their record is easy to recognize at a glance.
- Fill in the Client or Household name, Primary Contact Name, Primary Contact Email, and Phone Number. These keep your communication and reporting tied to the right person.
- Add a Secondary Email and any Notes if you have them.
- Set the Status to Active or Inactive.
- Click Add Client to save and return to your list, or choose Add Client and Property to jump straight into creating that client's first home.

To give one client a different report layout, open the client, choose Edit, and set Report layout: Use business default, Standard, or Summary + Details (a one-page summary up front).
How to add a property
- From the Properties section, choose Add Property, or arrive here automatically if you used Add Client and Property, in which case the client is already selected for you.
- Choose the Client who owns this home. Their notes appear alongside for quick reference.
- Enter the full Street Address, City, State or Province, and Zip or Postal Code.
- (Optional) Assign a Service Area, or create one on the spot. Pick a Property Type such as Residential, Condo, Commercial, or Vacation Rental, and add the Approximate Square Footage.
- Use the Access Notes field for the practical details your tech needs in the field: gate codes, alarm codes, and where the key is hidden.
- Set the Status and click Save Property.

Keeping records active or inactive
Both clients and properties carry an Active or Inactive status, and you can switch it right from the list. Deactivating a record is the gentle alternative to deleting it: a seasonal client or a home between owners drops off your day-to-day roster while all of their past reports and invoices stay safely on file. You can reactivate at any time.

From either list you can also open a record's Edit page to update contact details, mailing address, and other specifics whenever something changes.
What comes next
Once your clients and properties are in place, you can group homes that sit near each other and set the cadence for your visits. Read our guide to service areas and then scheduling visits to build out the rest of your workflow. You can see everything HomeWatcher offers on the features page, or get started and add your first client today.
Written by
Mike
Mike is the founder of HomeWatchTools.com, dedicated to building simple, powerful software for the home watch industry.
Keep Reading
AI Home Watch Report Summaries Clients Actually Read
October 13, 2026
What goes on a one-page home watch report summary, how AI drafts it from your notes, what the AI never decides, and what homeowners see in the PDF, portal and texted link.
Don't Give Up: How Long It Really Takes to Get a Home Watch Business Off the Ground
October 13, 2026
Quiet early months are normal in home watch, and an uncertain economy can make them feel longer. A realistic first-year timeline, why the hard months pay off, and how to tell you're on track before your first client.
AI Report Summaries and Report Layouts
October 13, 2026
Put a one-page executive summary at the front of every report. Choose a layout, read and edit the AI-drafted summary, and pick the photos your clients see first.