
Send Contracts and Collect E-Signatures Online
Chasing signatures is one of the most tedious parts of running a home watch business. Printing, scanning, emailing PDFs back and forth, and waiting on a client who keeps meaning to get to it. HomeWatcher closes that loop for you. You build a template once, generate a polished contract in seconds, send a secure signing link, and your client signs online from any device.
This guide walks you through the whole flow, from template to fully signed agreement in both inboxes.

Step 1: Build a Reusable Template
Start with a template so you never write the same contract twice. Go to Contract Templates and create one, giving it a name and your standard agreement language.

Inside your template, you can drop in placeholders for details like the client name, business name, property address, start date, and rate. When you generate a real contract, HomeWatcher fills those in automatically from your client and property records. One template serves every client, with no manual editing required.
Already have something close? Clone an existing template as a starting point and tweak it from there.
Step 2: Create a Contract for a Client
Go to Contracts and create a new one. Pick the client, the property, and the template you want to use, then set the start date and any details like rate, service frequency, or additional fees.
The template fills in instantly with that client's live information, and the contract saves as a draft so you can review it before anyone sees it.
Step 3: Review the Agreement
Open the contract to see the finished agreement with every placeholder replaced by real data. From here you can download a branded PDF, complete with your logo and signature, or make edits if anything needs adjusting.
When everything looks right, you are ready to get it signed.
Step 4: Send a Secure Signing Link
Click Send for Signature to email your client a secure link.

HomeWatcher pre-fills the email subject and message for you, and you can edit either one before sending. Behind the scenes, your own e-signature is automatically stamped onto the contract as the business signature, and a single-use, secure link is generated that stays valid for 30 days.
Prefer to share the link yourself? Choose Copy Signing Link instead to grab the URL without sending an email, perfect for texting it or pasting it into your own message.
If you need to nudge a client, you can send a reminder, and if plans change you can revoke an outstanding link at any time.
Step 5: Your Client Signs Online, No Login Needed
Your client opens the link and sees a clean signing page, with no account to create and no app to download.

They review the full agreement, check a clear consent box acknowledging that an electronic signature is legally binding, draw their signature on the pad, and submit. The submit button stays disabled until both the consent box and a signature are in place, so nothing gets signed by accident.
Every signature is captured with an audit trail, including the consent timestamp, the signing time, and the signer's IP address, giving you a solid, defensible record.
Step 6: Everyone Gets the Signed Copy
The moment your client signs, the contract moves to signed and a finished, countersigned PDF lands in both inboxes, yours and your client's.
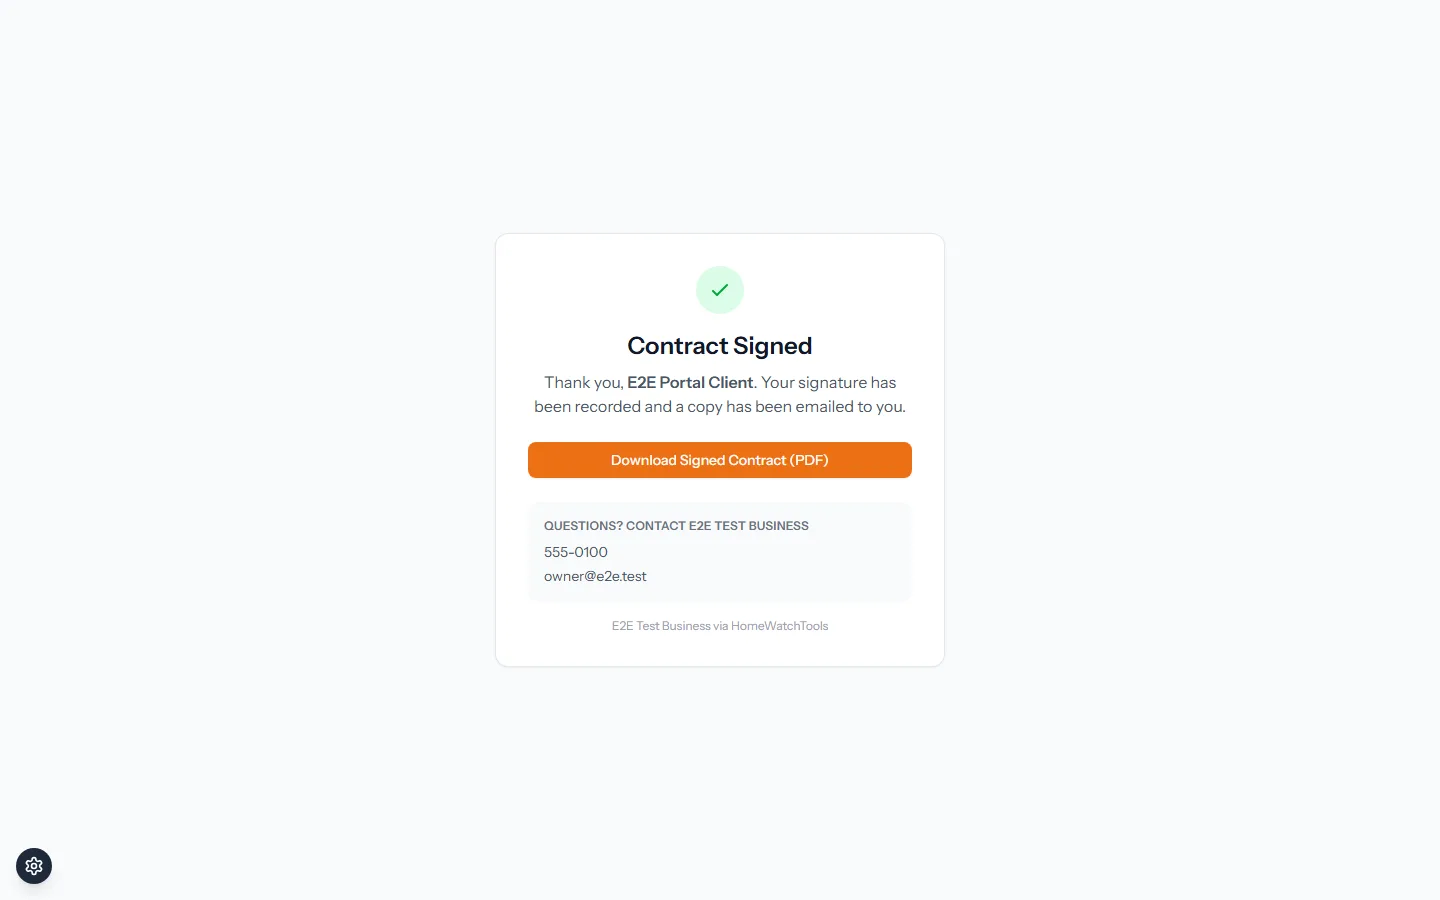
Your client sees a friendly confirmation page with a button to download their signed copy, and you can re-download the signed contract from the contract page anytime you need it.
Why It Matters
No printing, no scanning, no chasing paper. You get a professional agreement that auto-fills client details, a secure signing experience your clients can complete in under a minute, and a signed, audit-stamped PDF for your records. It is everything you need to close new business faster and look polished doing it.
Want to set up your first template today? See what else is included on our features page, or get started right now at https://app.homewatchtools.com.
Written by
Mike
Mike is the founder of HomeWatchTools.com, dedicated to building simple, powerful software for the home watch industry.
Keep Reading
AI Home Watch Report Summaries Clients Actually Read
October 13, 2026
What goes on a one-page home watch report summary, how AI drafts it from your notes, what the AI never decides, and what homeowners see in the PDF, portal and texted link.
Don't Give Up: How Long It Really Takes to Get a Home Watch Business Off the Ground
October 13, 2026
Quiet early months are normal in home watch, and an uncertain economy can make them feel longer. A realistic first-year timeline, why the hard months pay off, and how to tell you're on track before your first client.
AI Report Summaries and Report Layouts
October 13, 2026
Put a one-page executive summary at the front of every report. Choose a layout, read and edit the AI-drafted summary, and pick the photos your clients see first.